Section 9.8: Creating User Groups

1. Click on the start button
2. Click on Control Panel

The control panel appears
3. In the CONTROL PANEL, click on the PERFORMANCE AND MAINTENANCE icon
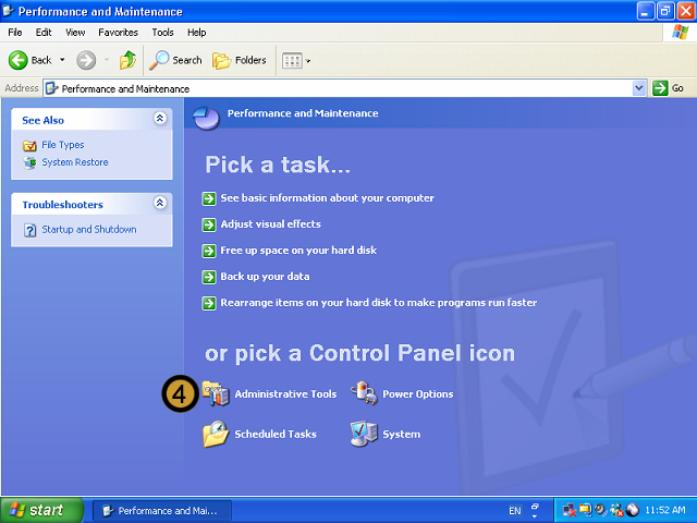
The PERFORMANCE and maintenance dialog box appears
4. In the PERFORMANCE AND MAINTENANCE dialog box, click ADMINISTRATIVE TOOLS
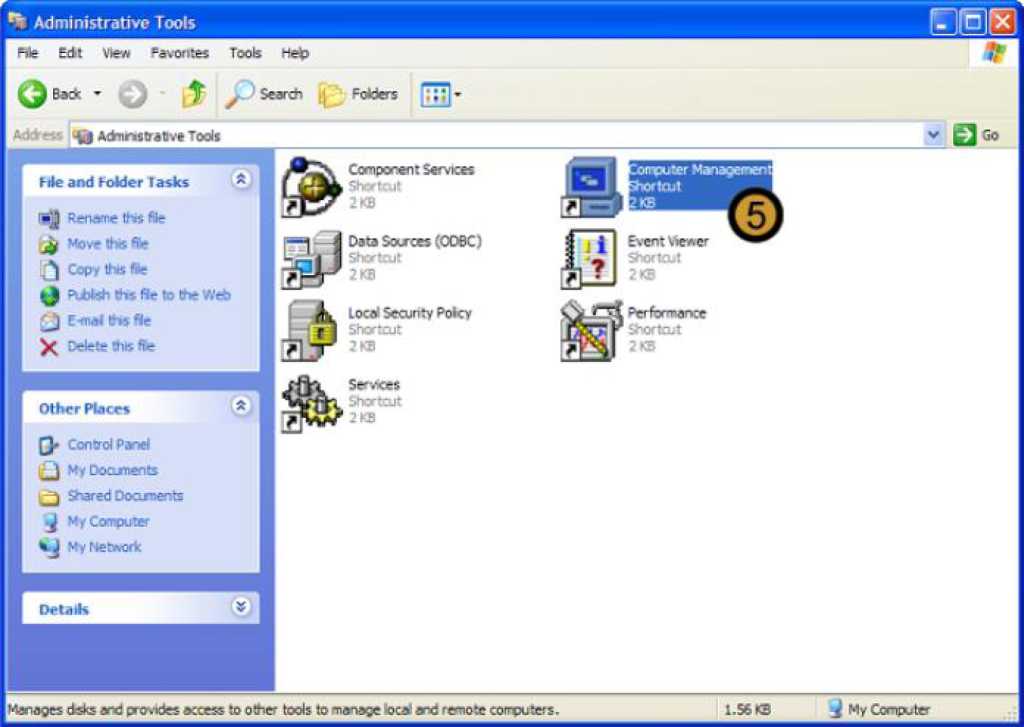
The Windows XP Professional administrative tools appears
5. In ADMINISTRATIVE TOOLS, double-click on the COMPUTER MANAGEMENT icon
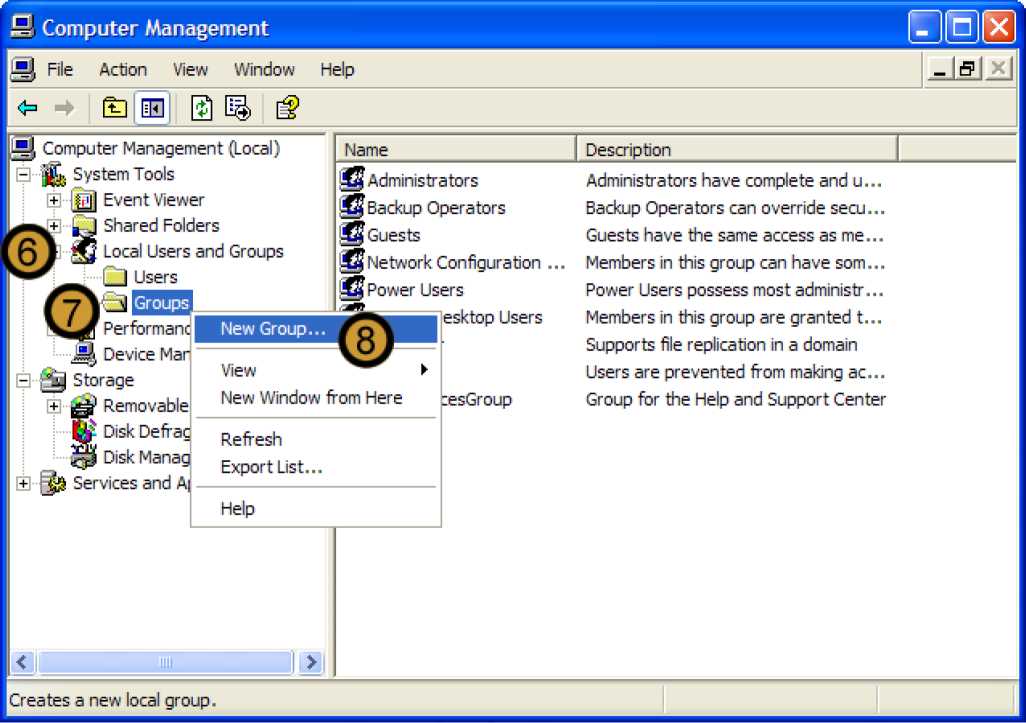
The computer management console appears
6. In the COMPUTER MANAGEMENT CONSOLE, expand LOCAL USERS AND GROUPS
7. Right click GROUPS
8. On the drop down menu that appears, click new user ...
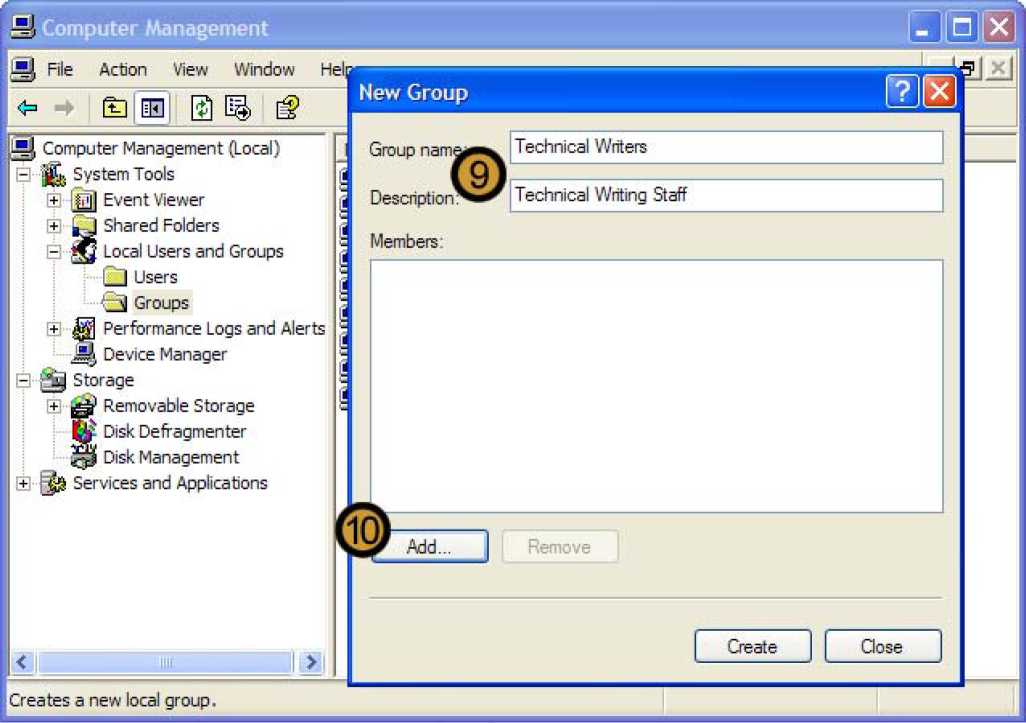
The NEW group dialog box appears
9. In the new group dialog box, provide a name and description for the new Group
We can now either create the user group without assigning users to it by clicking CREATE; or we can first assign users to the group. In this example we will be performing the latter.
10. Click ADD ...
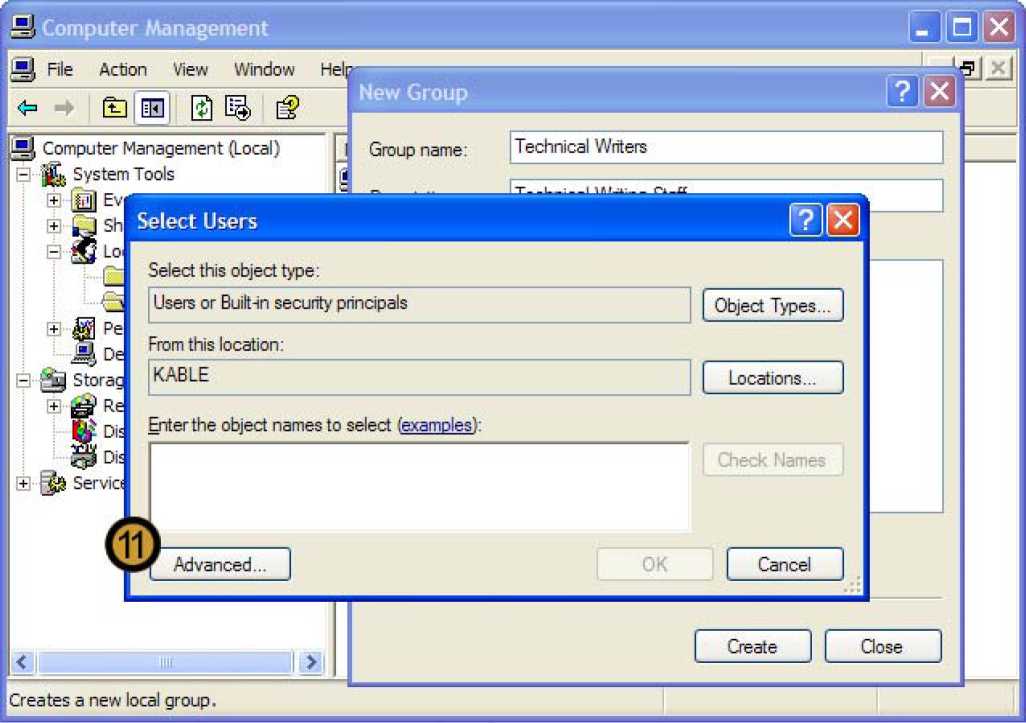
The select users dialog box appears
11. In the select users dialog box, click advanced ...

12. Select the Users that you can to assign to the group from the list that appears
13. Click OK
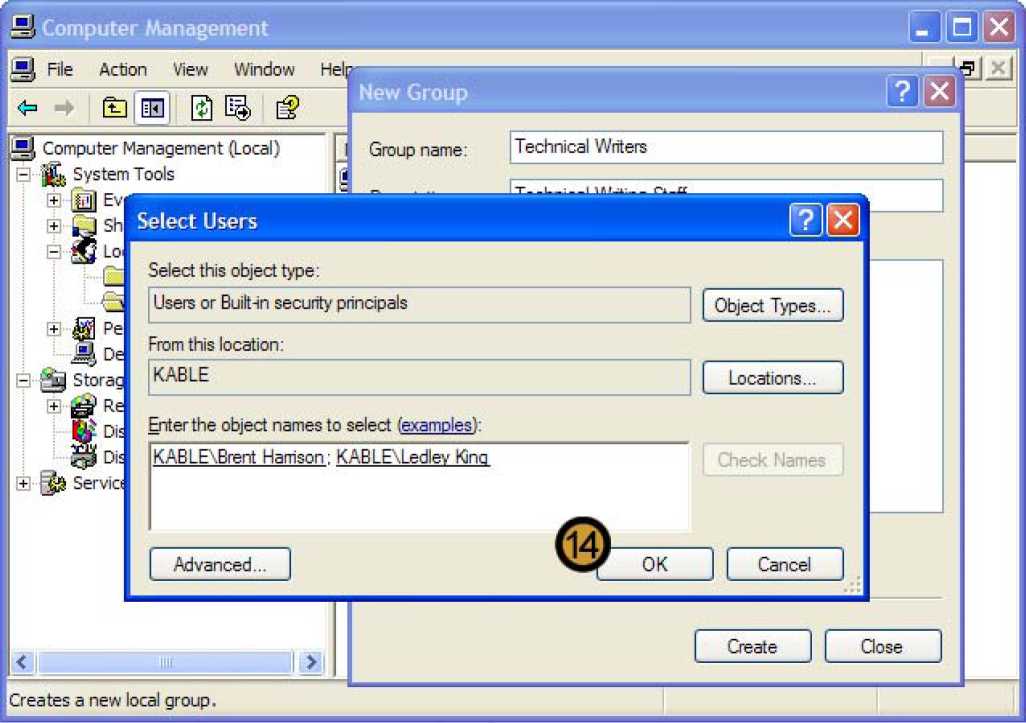
14. Once you have selected all the users you want to added to the group, click OK
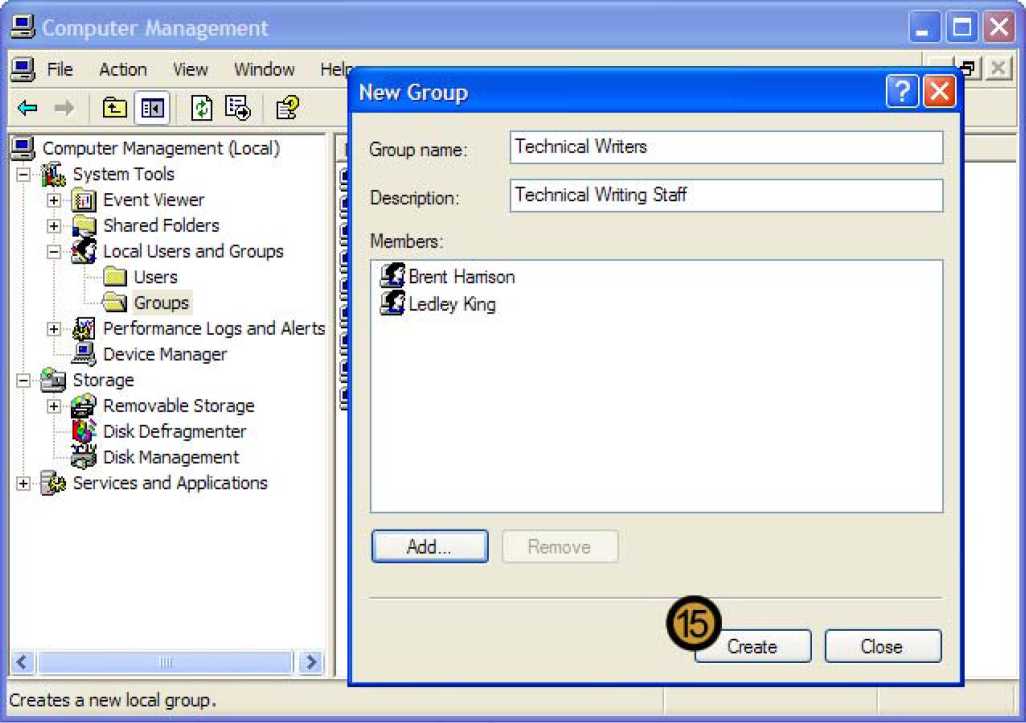
15. Click create to create the new group
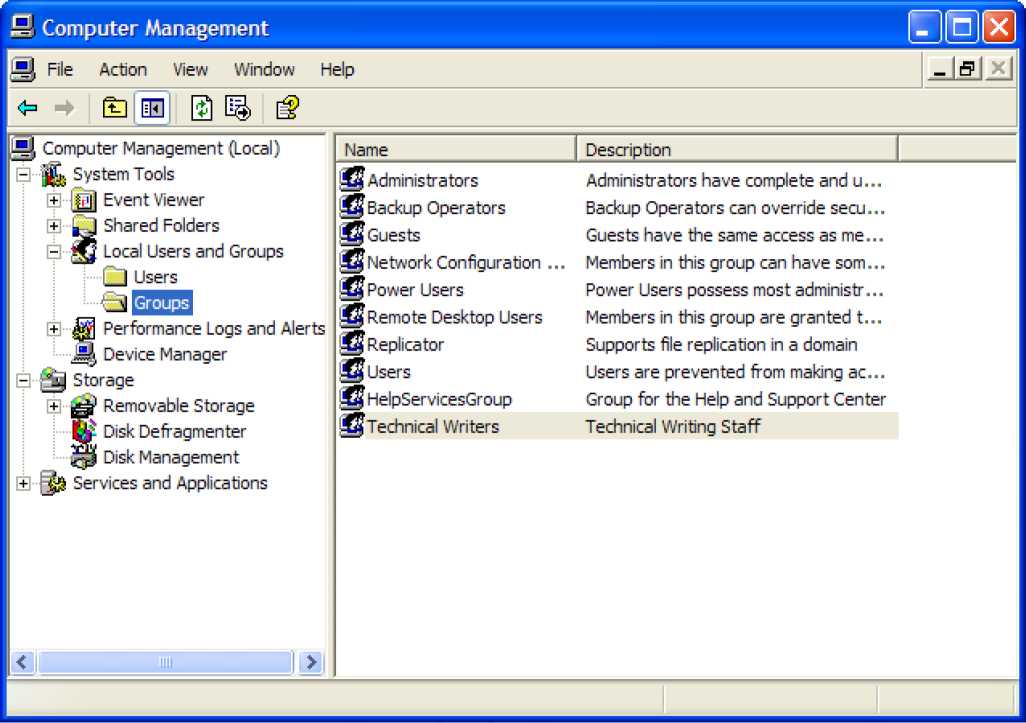
The user group has now been created