Section 9.5: Installing New Hardware Devices

1. Click on the start button
2. Click on CONTROL PANEL

The control panel appears
3. In the CONTROL PANEL, click on the PRINTERS AND OTHER HARDWARE icon
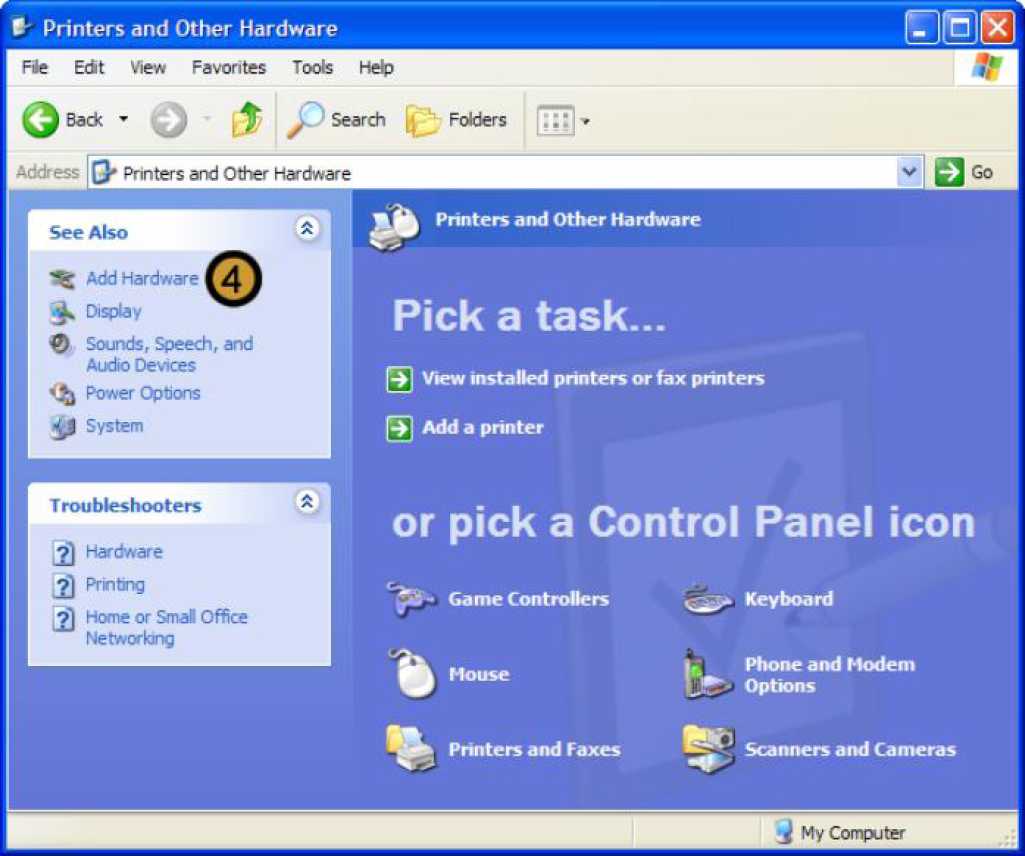
4. Click on ADD HARDWARE
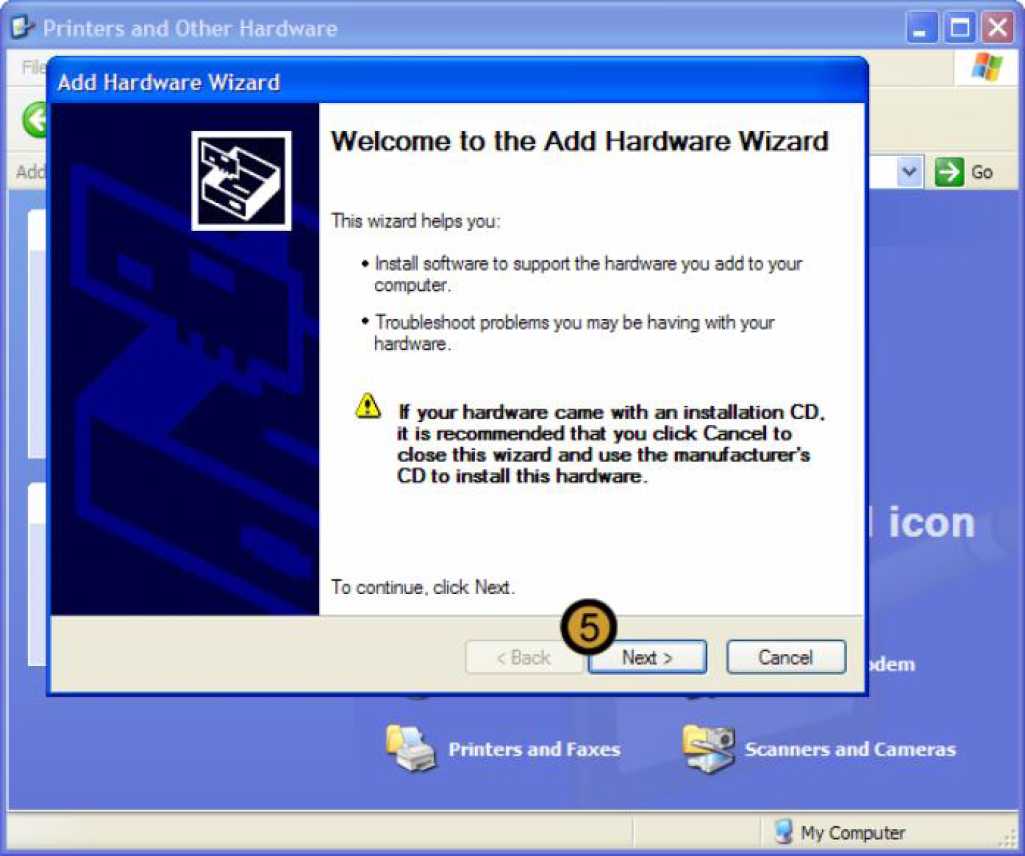
The ADD HARDWARE wizard appears
5. In the ADD HARDWARE WIZARD, click on the PRINTERS AND OTHER HARDWARE icon

The ADD hardware wizard searches for new hardware

6. Click NEXT

7. On the Installed hardware list, scroll down to locate the hardware you wish to install. If it is not on the list click on the add a new hardware device
8. Click NEXT

9. Select the install the hardware that I manually select from a list radio button
10. Click NEXT

11. On the common hardware types list, use the scroll bar to scroll down to the hardware type that you want to install
12. Click on the Hardware Type that you want to install
13. Click NEXT
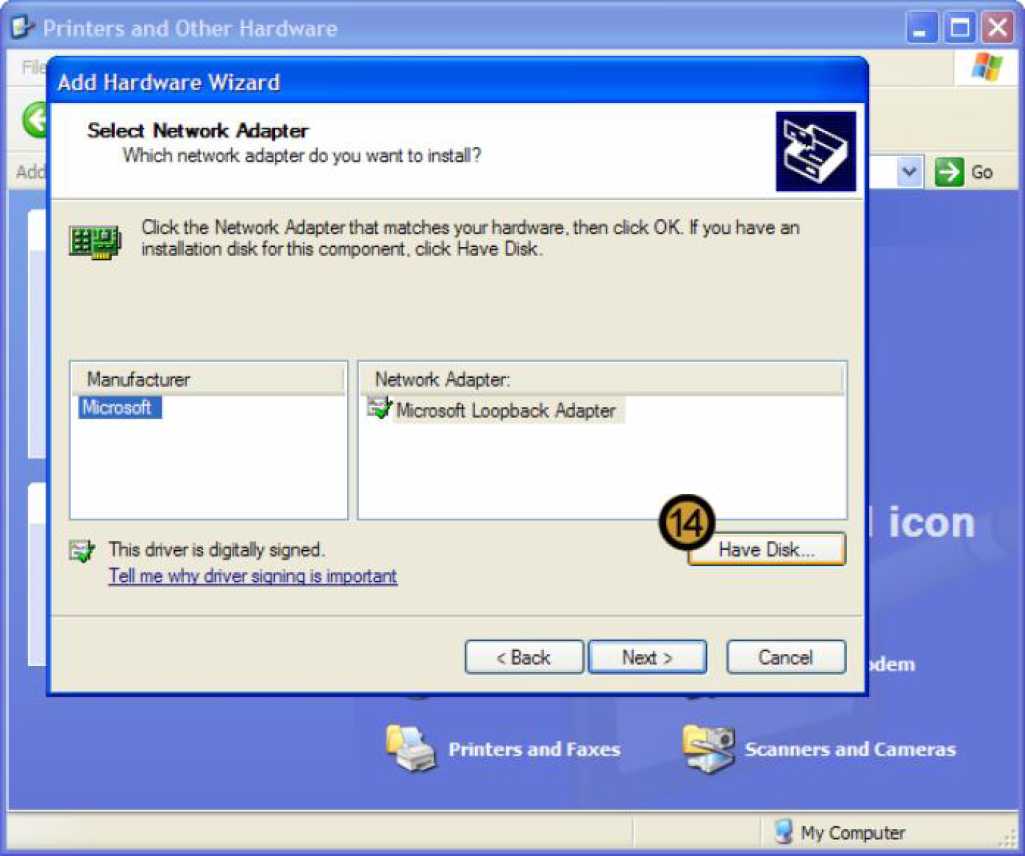
14. Click on HAVE DISK ...

15. Click BROWSE ...

16. Locate the driver for the device that you want to install
17. Click OPEN

18. Once you have located the device driver, click ok

19. Select the correct hardware device if the device driver is associated with a number of hardware devices
20. Click NEXT

21. Click NEXT
Windows XP Professional completes the installation of the required device driver