Section 9.3: Supporting Printing for UNIX Clients
9.3.1: Installing Print Services for UNIX
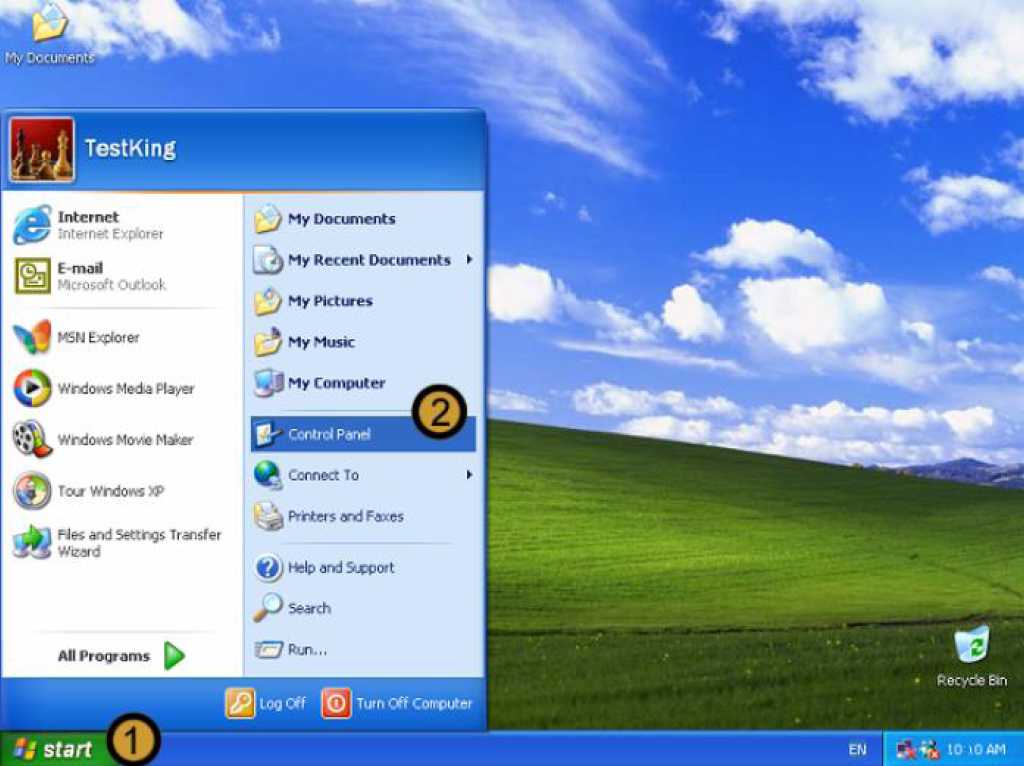
1. Click on the start button
2. Click on Control Panel
The control panel appears
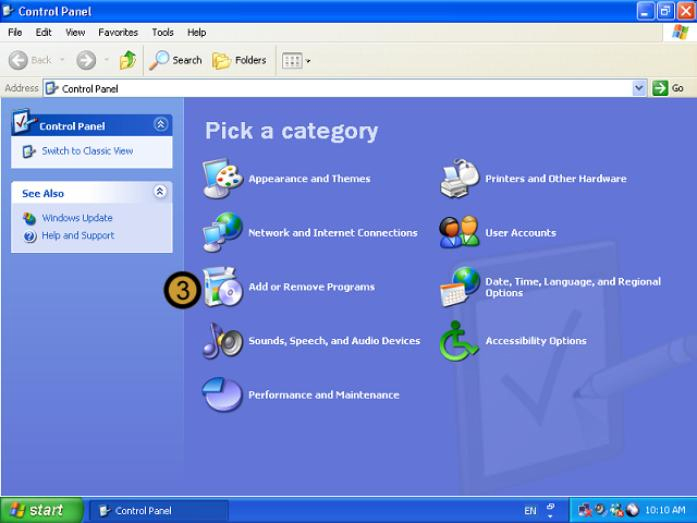
3. In the CONTROL PANEL, click on the ADD OR REMOVE PROGRAMS icon
The add or remove programs dialog box appears
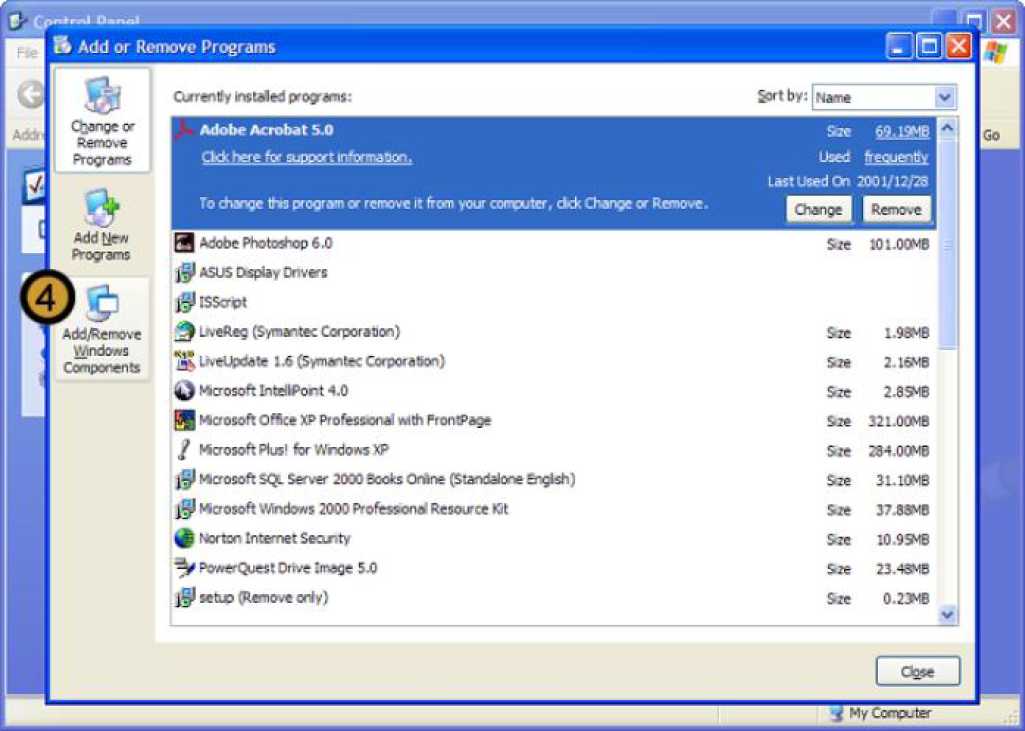
4. In the ADD OR REMOVE PROGRAMS dialog box, click ADD/REMOVE WINDOWS COMPONENTS
The windows components wizard appears
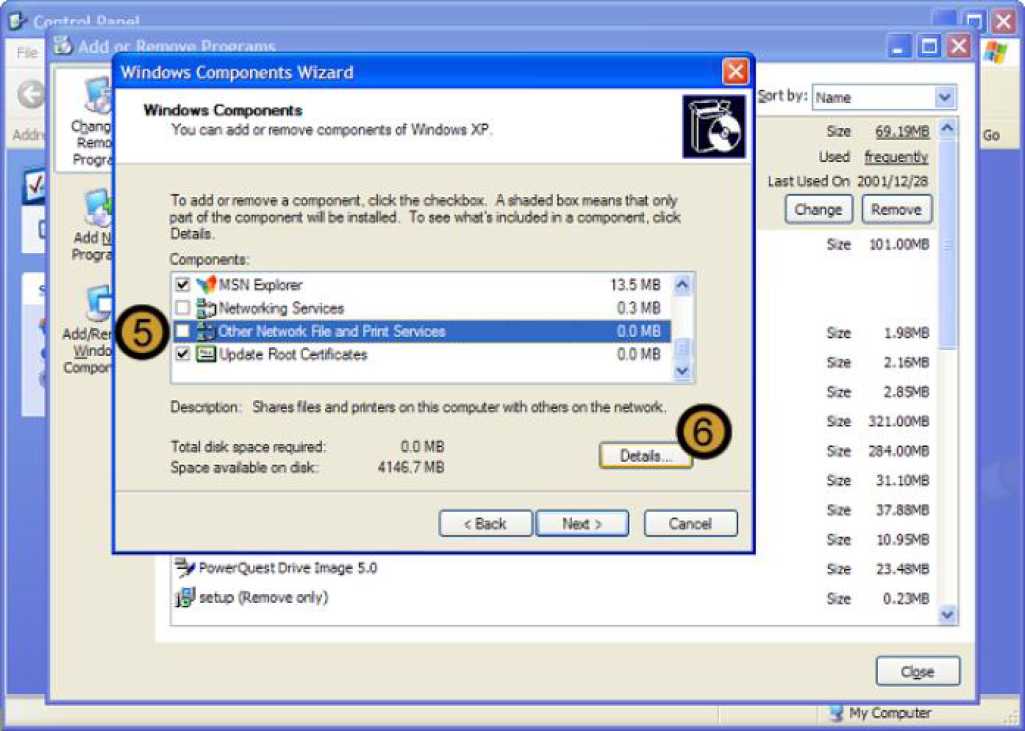
5. In the WINDOWS COMPONENTS WIZARD, scroll down and click on OTHER NETWORK FILE AND PRINT SERVICES
6. Click on DETAILS

7. Select the print services for unix check box
8. Click ok
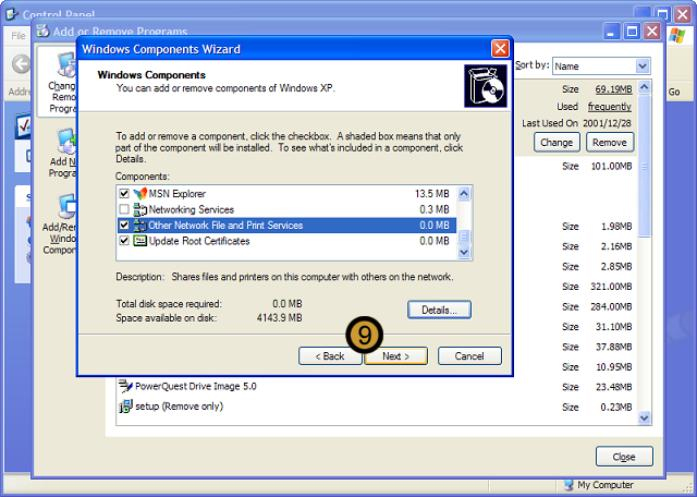
9. Click NEXT
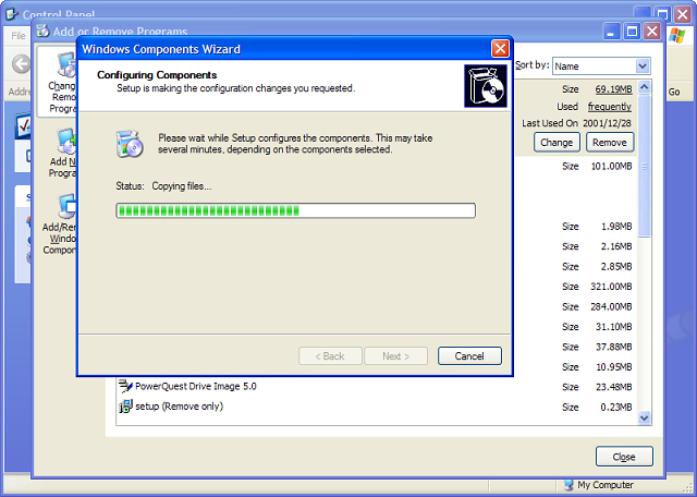
Windows XP Professional begins to install the Print Services for UNIX component
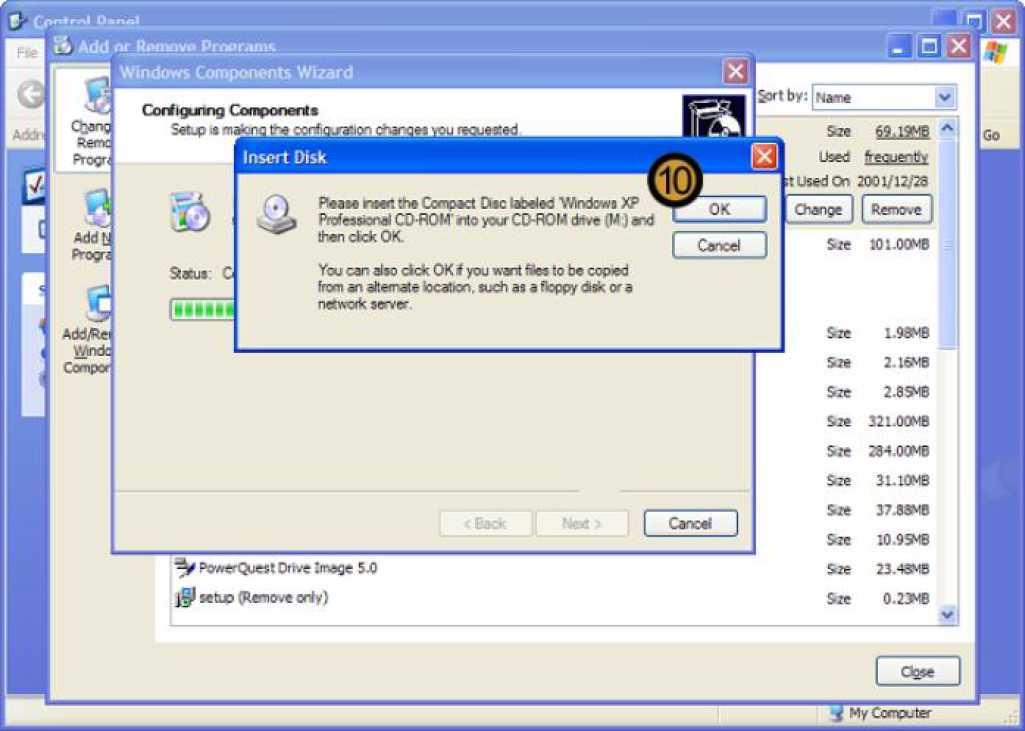
Windows XP Professional requires the Windows XP Professional Installation CD to complete the installation. If the CD is not in the CD-Rom drive, Windows XP Professional prompts you for it.
10. Insert the Windows XP Professional Installation CD in the CD-Rom drive and click OK

Windows XP Professional continues to install the Print Services for UNIX component
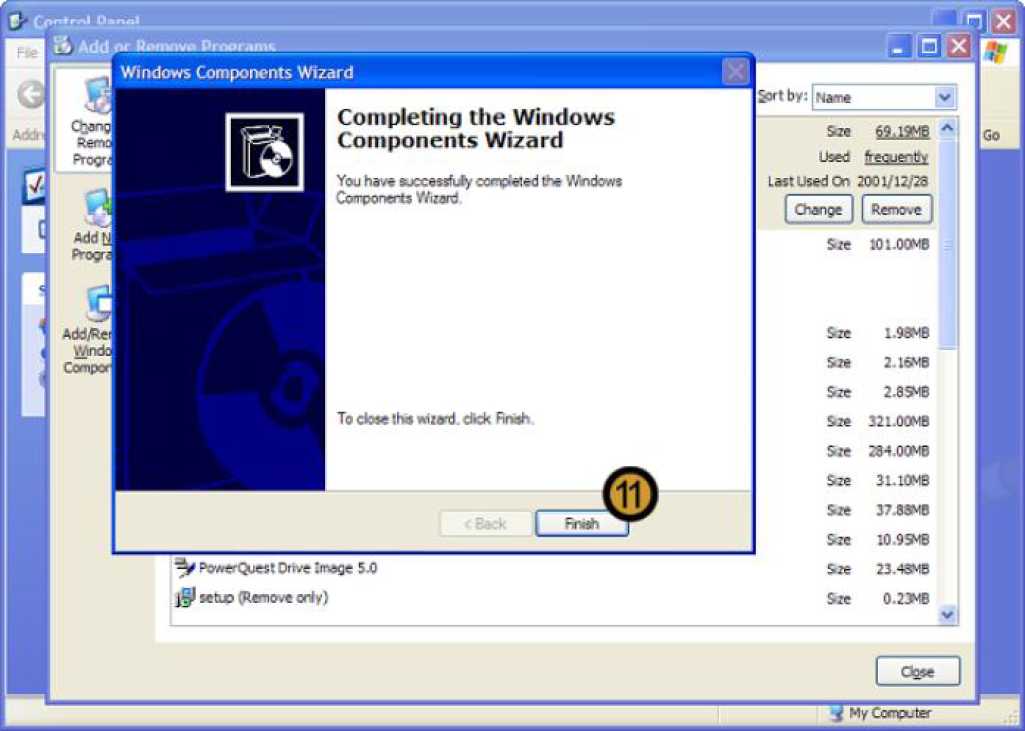
11. To complete the installation of the Print Services for UNIX component, click finish
9.3.2: Installing a Printer for UNIX clients

1. Click on the start button
2. Click on PRINTERS AND FAXES
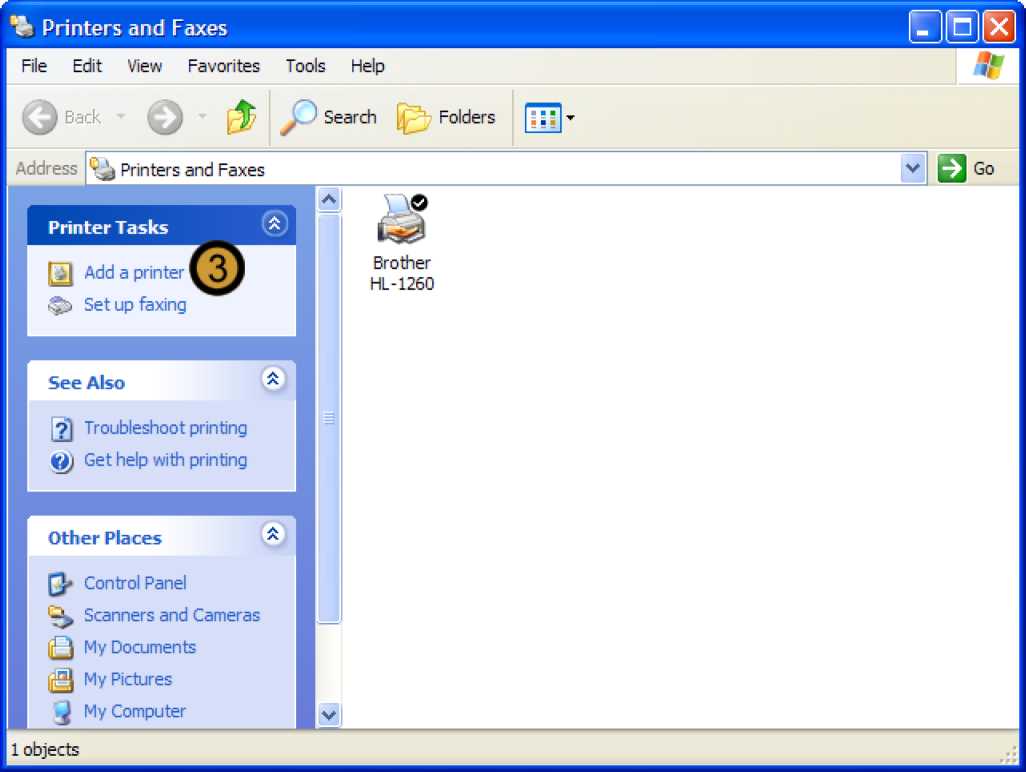
The PRINTERS AND faxes folder appears
3. In the PRINTERS AND FAXES folder, click ADD A PRINTER
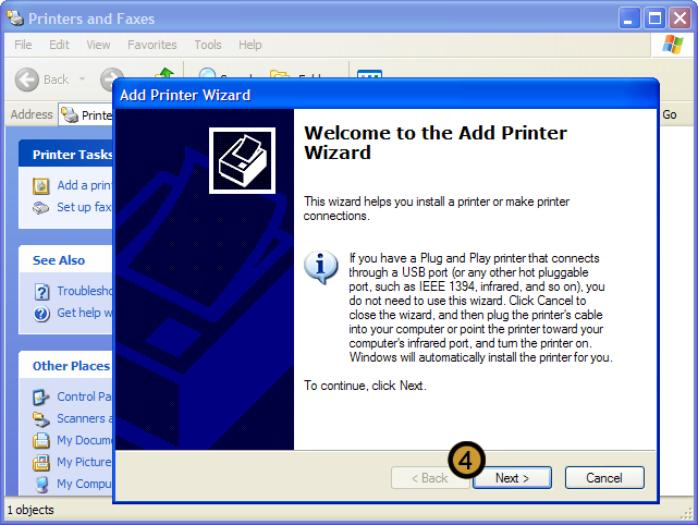
The ADD PRINTER wizard appears
4. In the add PRINTER wizard, click next to begin the installation.
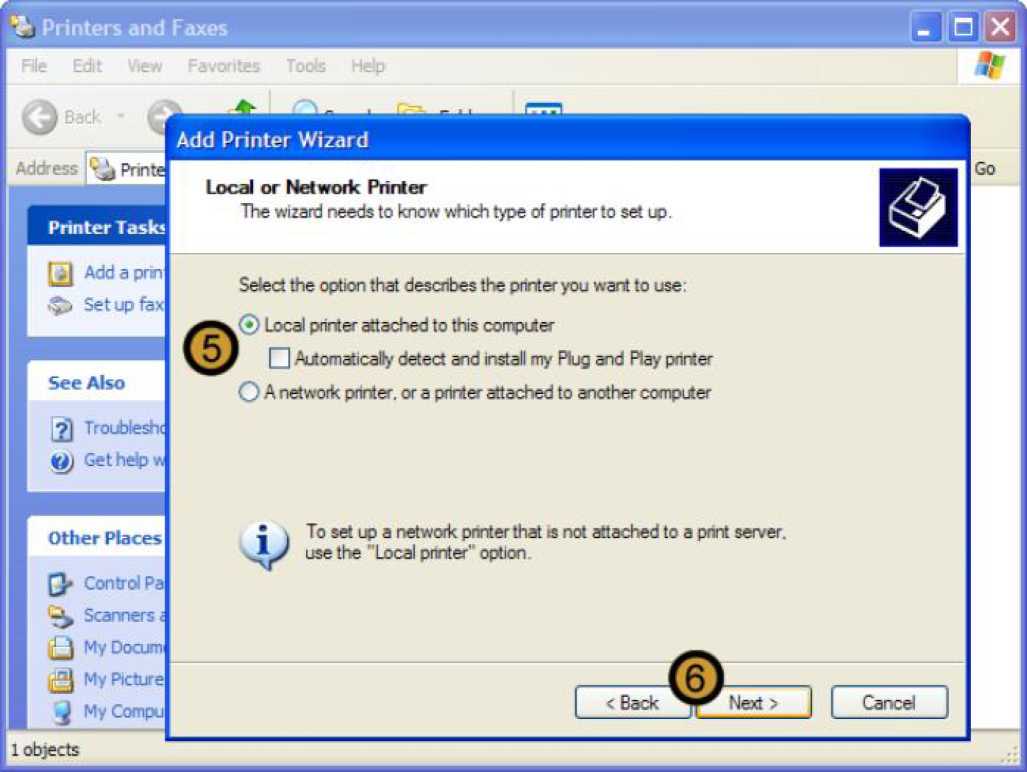
5. Clear the automatically detect and install my plug and play printer check box
6. Click on NEXT
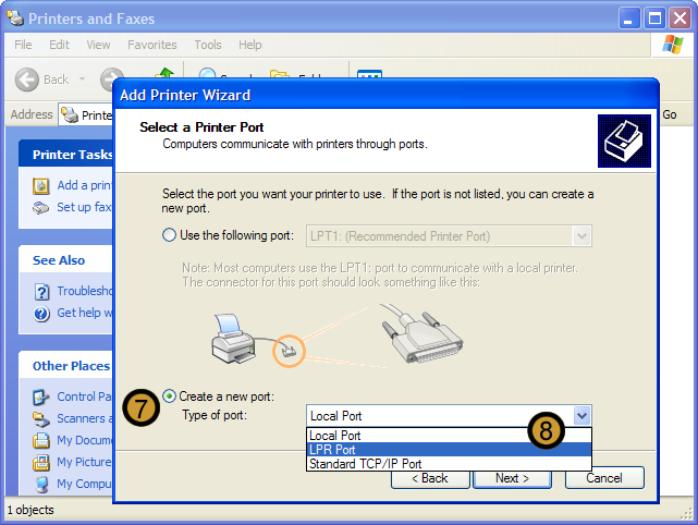
7. Select the create a new port radio button
8. From the TYPE OF PORT drop down list, click on LPR PORT
Note: The LPR Port is only available after you have installed the Print Services for UNIX network component.
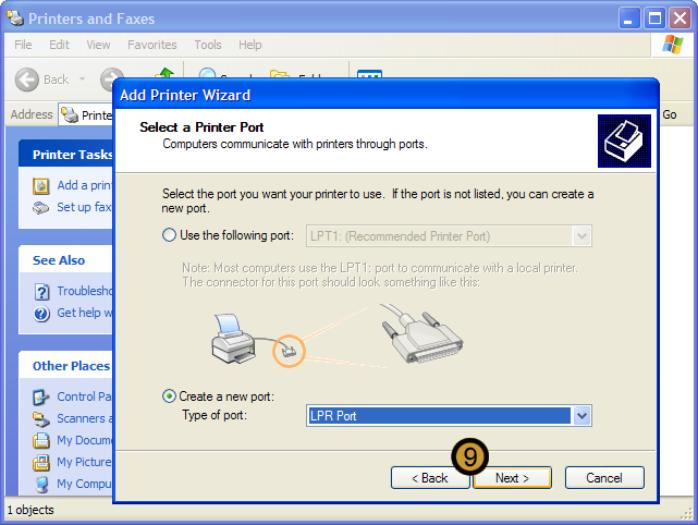
9. Once you have selected the LPR port, click next
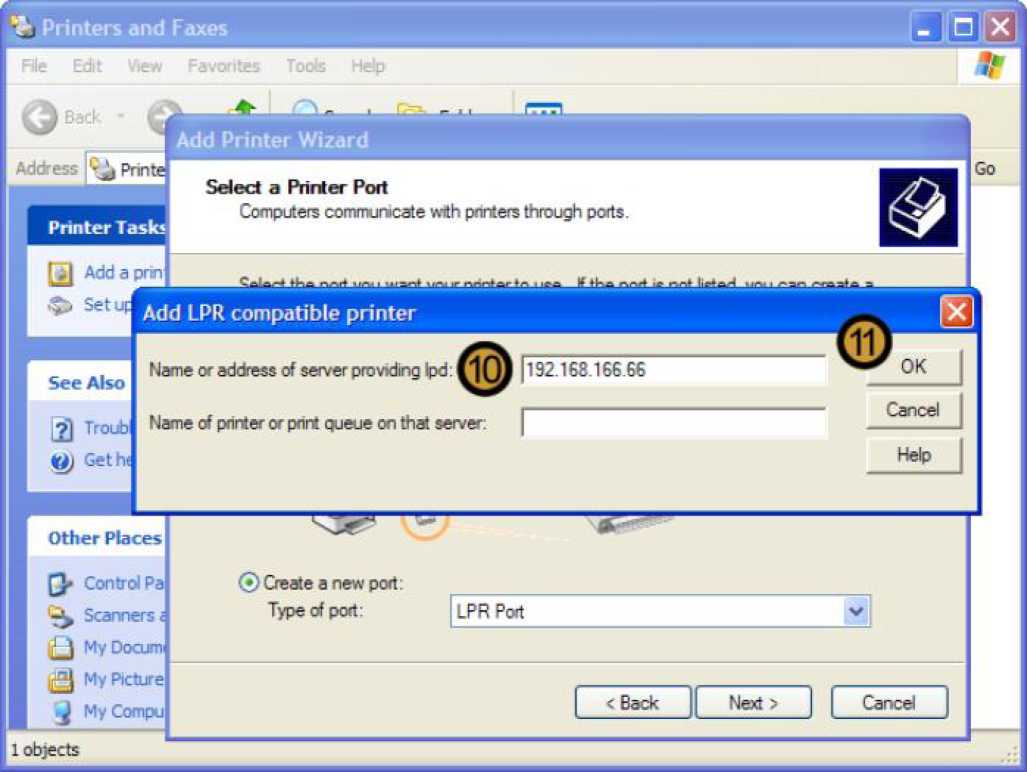
The ADD LPR compatable printer dialog box appears
10. In the add LPR compatable printer dialog box, enter the name or IP address of the computer on which the Print Services for UNIX network component has been installed
11. Click ok
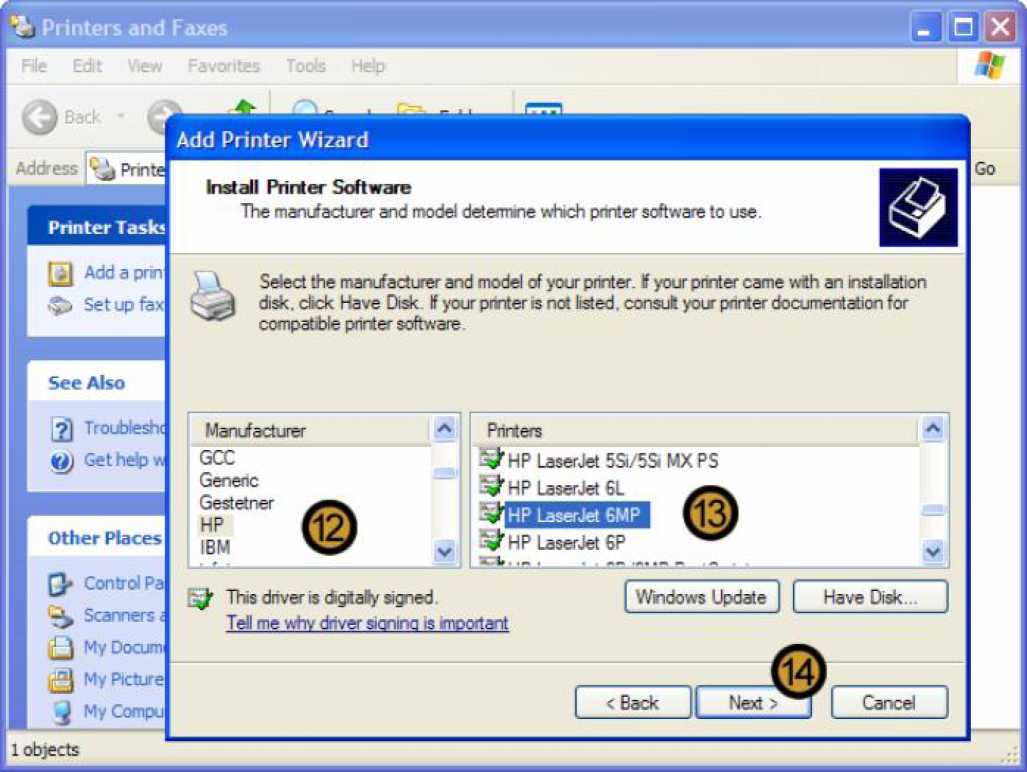
12. Scroll down to, and click on, the Manufacturer of the Print Device that you are installing.
13. Scroll down to, and click on, the Printer Model that you are installing.
14. Click NEXT
Note: If the correct printer model is not listed, you can click have disk to install the drivers that have been supplied with the device. This procedure is performed below in Section 9.5 Installing new hardware devices.
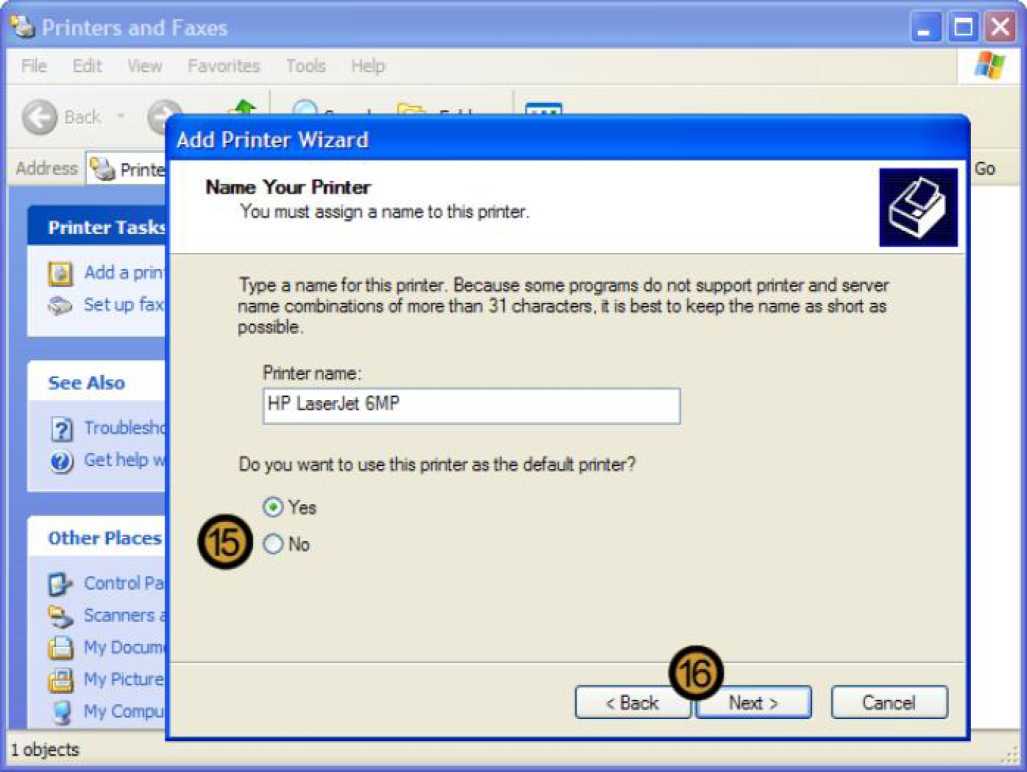
15. If you do not want to set the new printer to be the default printer on the local computer, select the NO radio button.
16. Click NEXT
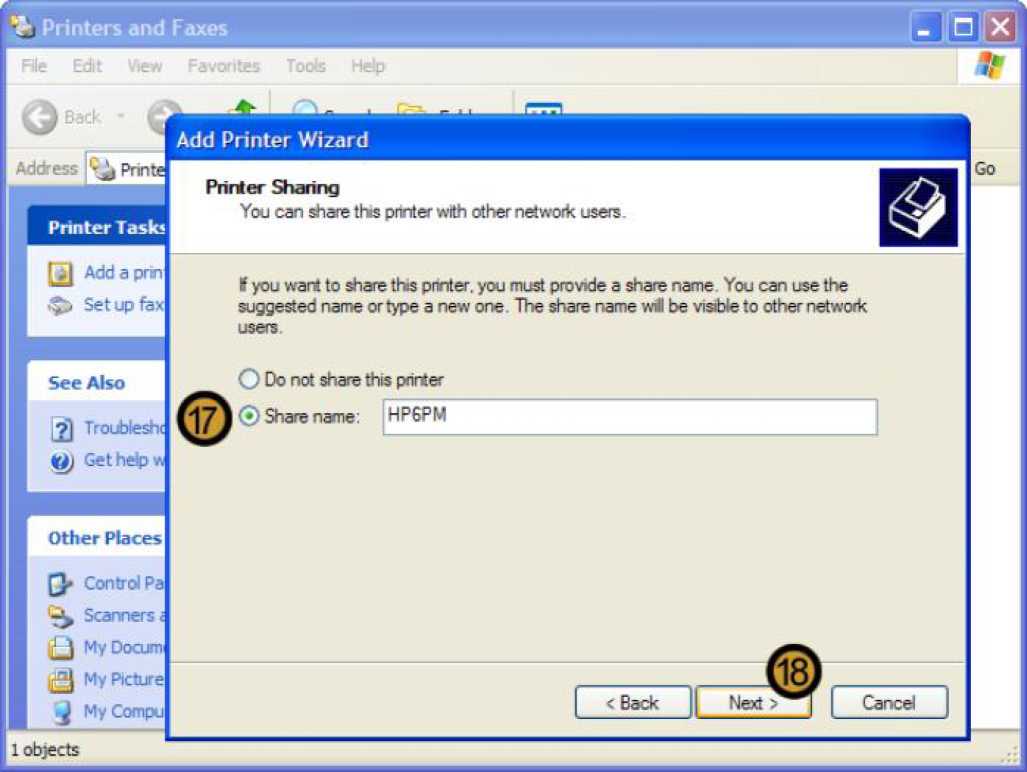
17. Provide a Share Name for the new printer
18. Click on NEXT
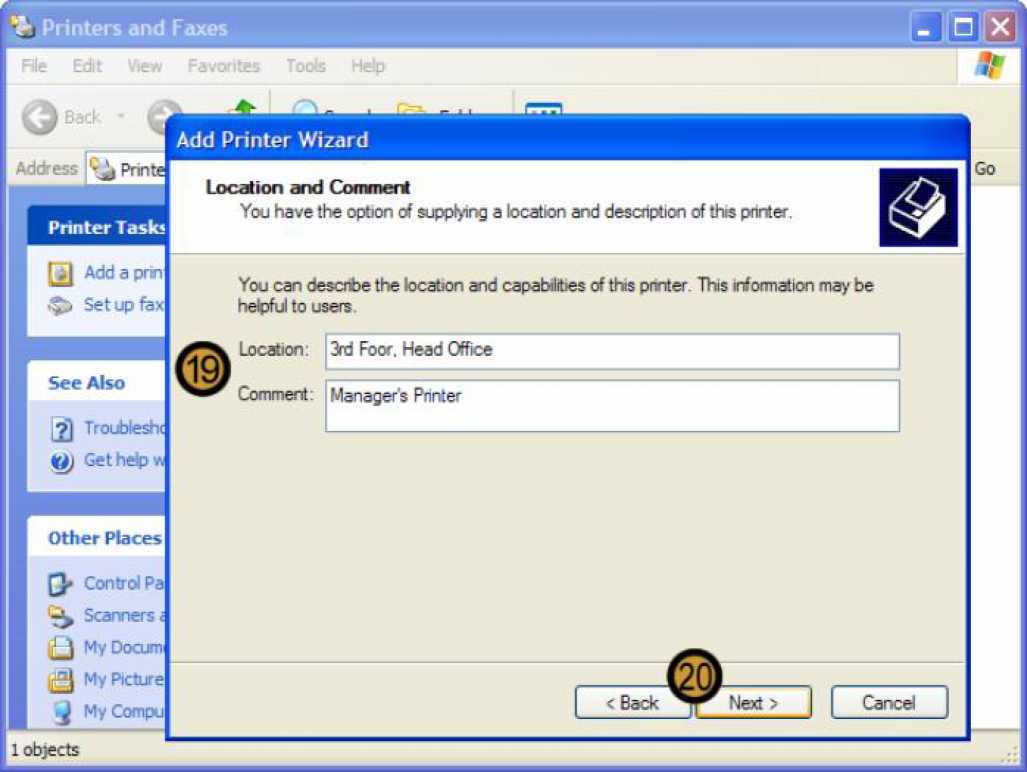
19. Provide required information that will help network users to physically locate the printer so as to know where to locate their printed work. You can also provide a description for the printer.
20. Click on NEXT
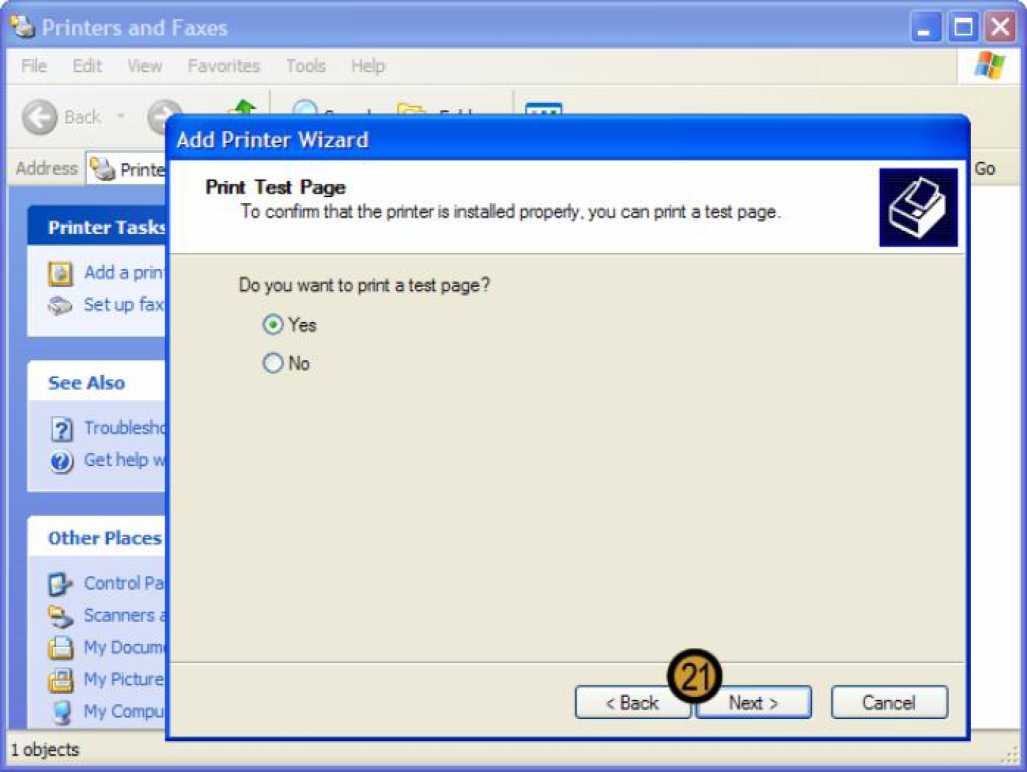
21. Click next again
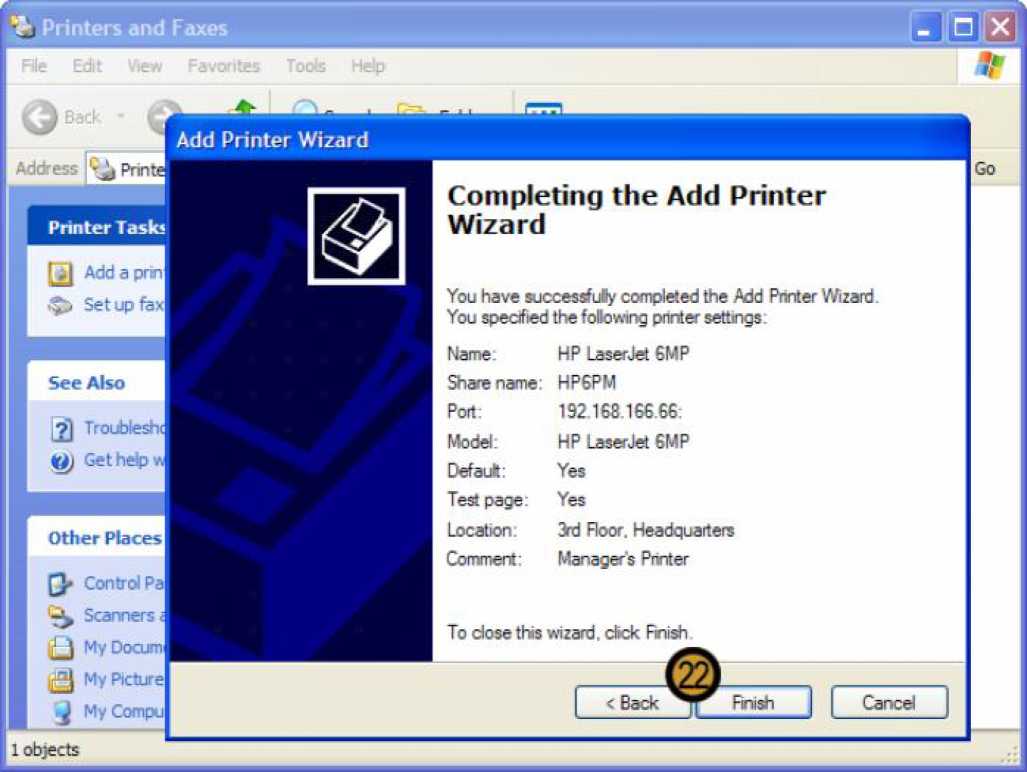
22. Click finish to complete the installation of the printer
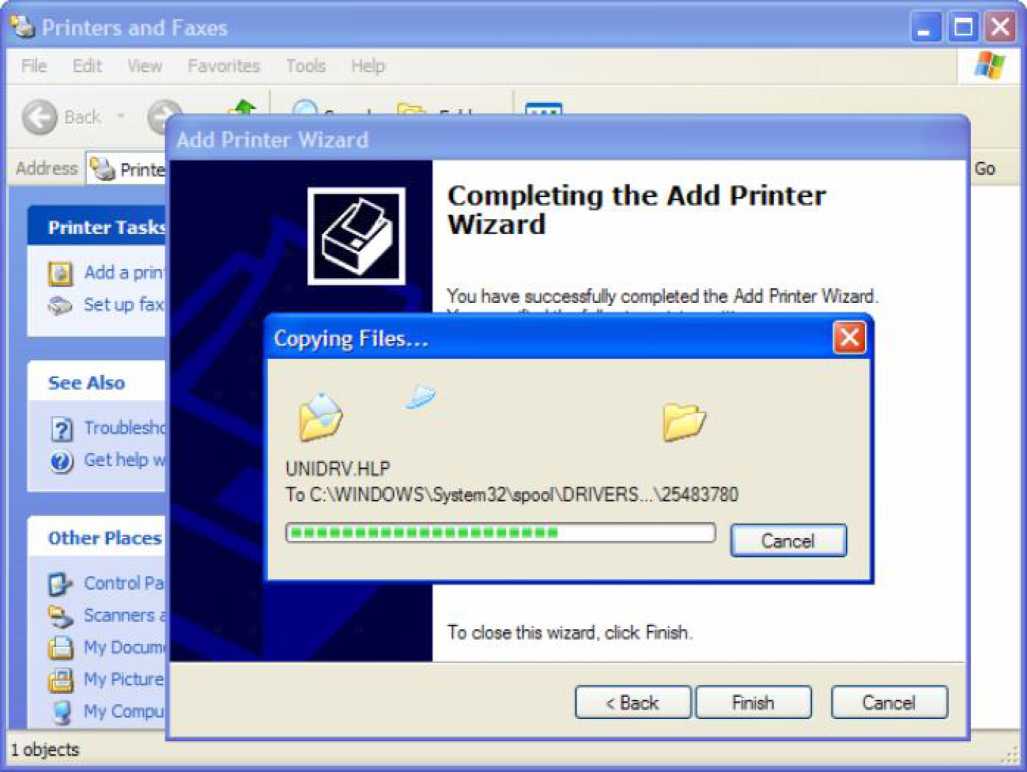
Windows XP Professional installs the required drivers for the print device
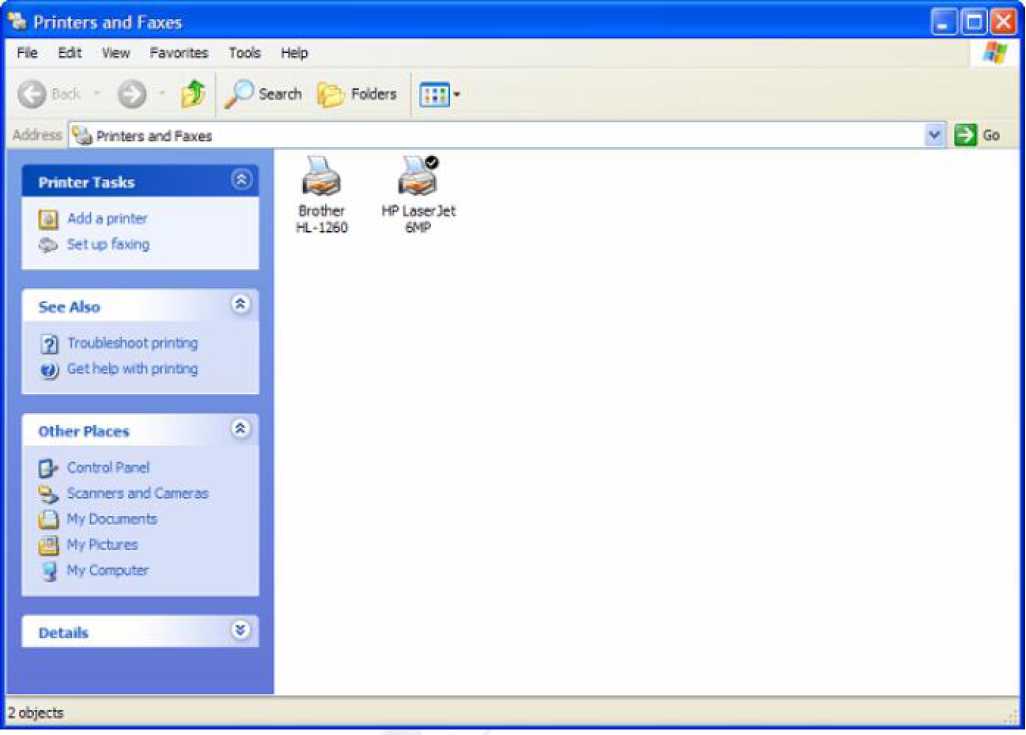
The new printer is now listed in the printers and faxes folder